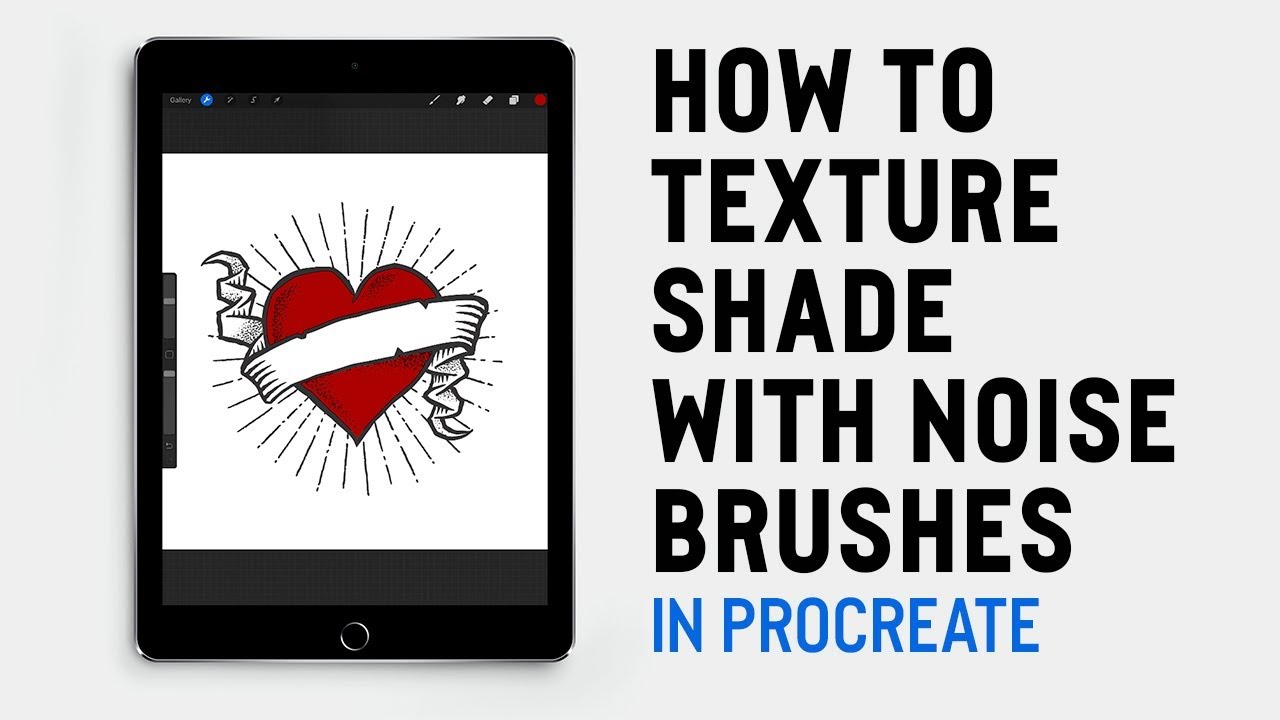
 HOW TO TEXTURE SHADE WITH NOISE BRUSHES IN PROCREATE
 In this tutorial, we’ll be looking at several methods for texturing with texture brushes in Procreate. We’ll begin with the first method, which is to create a new layer to your design and add texture wherever you want it to go. You won’t have to be precise, as the next step will be to use the selection tool to clear the area where you don’t want the texture to appear.
The next method is to create a specific selection so that when you go over that area with your brush, only that selection will be coloured in. You can also texture by working directly on the element you wish to shade; by locking the pixels on a layer, you’ll only paint where there is already content on the layer. Lastly, you’ll be able to add texture by using the eraser tool as a textured brush.
Design Cuts assets used in this tutorial:
Wild Flora Wonders:
Magic Noise Brushes:
Watch our video on How to Install Brushes into Procreate:
VIEW MORE VIDEOS JUST LIKE THIS ON OUR YOUTUBE CHANNEL
Subscribe
PROCREATE TUTORIAL | How to Install Fonts:
PROCREATE TUTORIAL | 5 Things New Users Should Know About Using Brushes:
FIND US ON SOCIAL MEDIA
Facebook ►
Instagram ►
Twitter ►
Pinterest ►


0 Comments